Appendix: Making your first Binder
Preparation
Obtain a Github account if you don’t already have one
Items to make in preparation
a Jupyter Notebook. Only absolute requirement.
I suggest developing inside a notebook spawned from someone else’s Github/Binder combination or tmpnb.org, see here. Save often and local. Or simply copy an example notebook for testing. Notebooks end in the
.ipynbextension.requirements.txtfile to specify dependencies.See step #2 at http://mybinder.org/. (Technically, not absolutely required if your needs don’t extend beyond basic Python or if mybinder.org already has the needed module installed. For example, when I looked into
bokeh, they already had it. The availability of modules can be confirmed by typingimportfollowed by the module name [or what designation is used to import that module usually] in a notebook spawned via MyBinder. If there is no error, than it is already available and you don’t need to add it torequirements.txt. Alternatively, there are other way to specify dependencies, see the site.)
Readying your Github Repository
Upload the Jupyter Notebook file to a repository at Github.
If needed, add the
requirements.txtfile to the repo to point at pypi modules needed. See step #2 at http://mybinder.org/Copy to your clipboard the URL address of your repository. It will resmble
Point my binder at your Github Repository
- Go to the mybinder.org site.
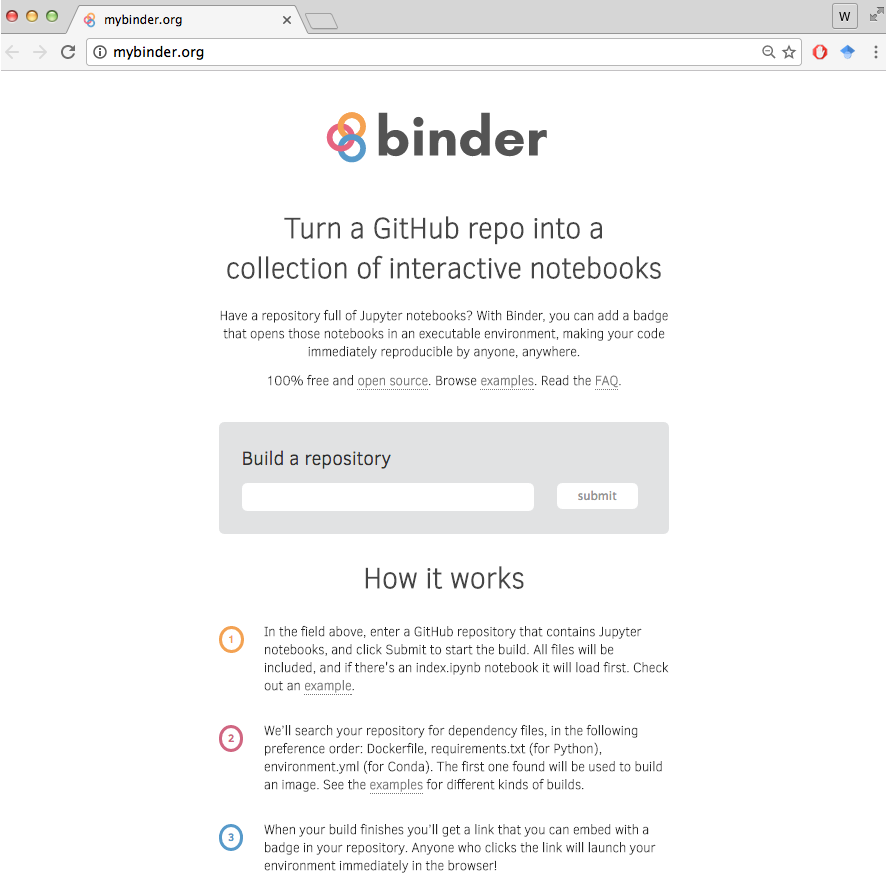
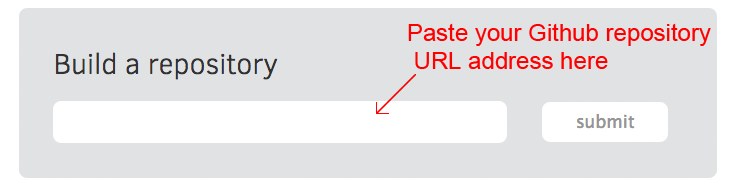
- Paste the address if your Github repository in the space next to the
submitbutton.
- Press
Submitto initiate the build process.
** It will then look something like this as it starts building the launchable Binder version of your repository.**

- Let it process. Only when all three dots on the left side turn green is it built, like below.
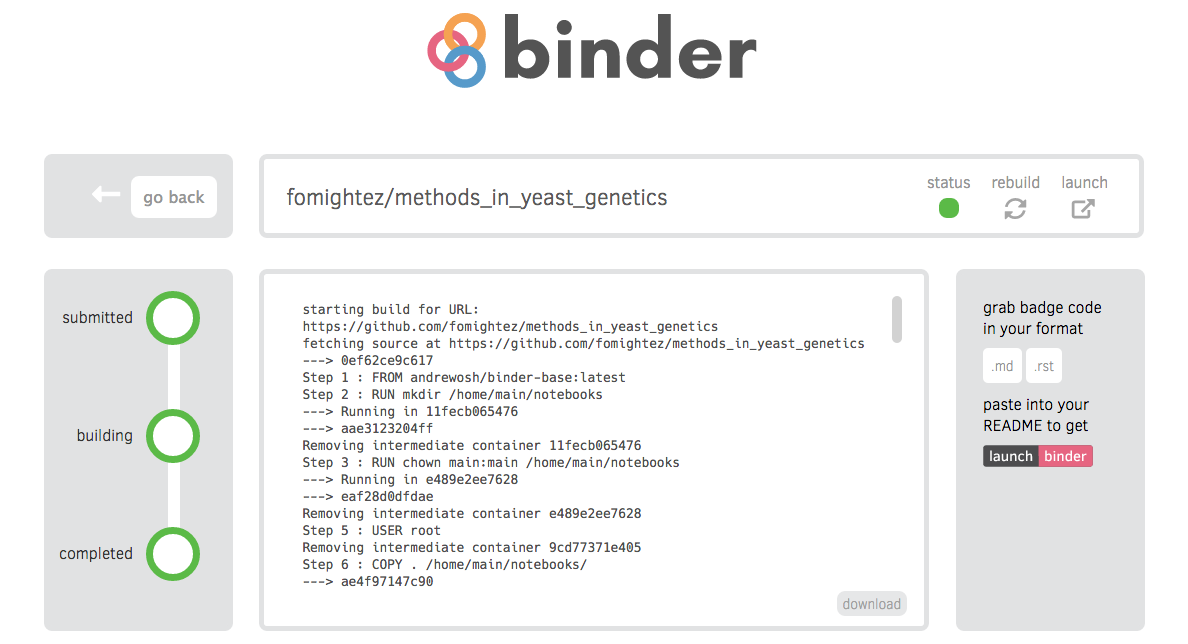
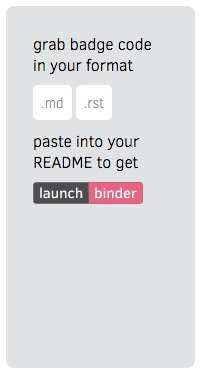
- Grab the code for your launch button badge. They have markdown and restructured text versions available right there.
The launch badge button is just an image linked to an html link that will trigger deploying of your notebook immediately on-demand via mybinder.org. Because the link conforms to a certain convention, you can also build it yourself later. The link to trigger launching an active form of your notebook will look like:
http://mybinder.org/repo/user_name/repo_name
-or-
http://mybinder.org/repo/user_name/repo_name/notebooks/specific_notebook.ipynb
You can easily get the code for the badge button off the build page or
edit someone else’s links to point at yours. For example, you can use my
text here to make badge
buttons and/or links to your launchable notebooks. (Click the raw button to see the raw code for copying.)
This is what the launch button badge looks like —> ![]()
- Paste the
launch binderbutton code in your README.md at your repository or put the link elsewhere.
Use your Binder
Test by launching an active notebook using the links and/or
launch binderbutton badge.The active notebook should launch close to immediately (within several seconds) and you’ll be ready to go.
Share the link with others or point them at the site of the button.